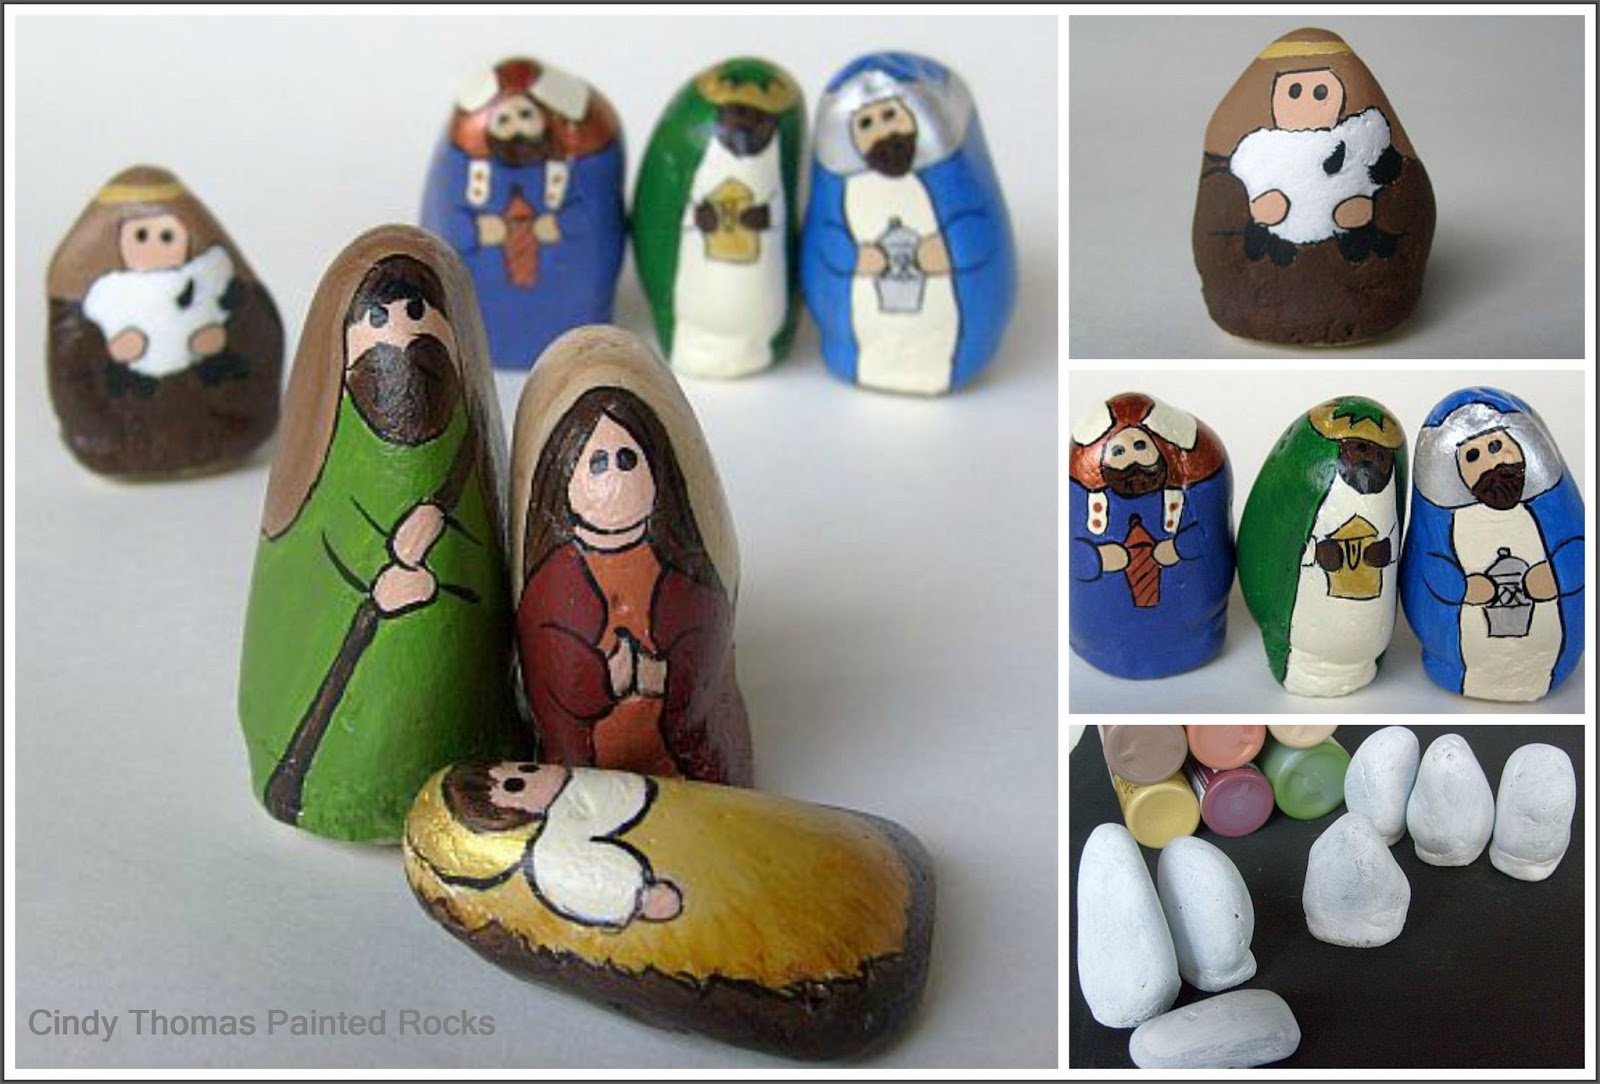
© Cindy Thomas Painted Rocks
Useful Links:
Stainable Wood Filler - 3.25 oz. tube
Stainable Wood Filler - 4 oz. tub
Stainable Wood Filler - 16 oz. tub
Note: When you click on certain links in this post, I may receive a commission for the purchase of products. As an Amazon Associate I earn from qualifying purchases.
 Problem: Many of my rock painting projects, especially nativity scene figures, require upright stones which are difficult to find.
 Solution: Add wood filler to the stone's bottom to make a base.
How I Make Unpainted Rocks Stand Upright
Supplies Needed:

- rocks (clean and dry)
- newspaper to protect your work surface
- stainable/paintable wood filler
- disposable rubber gloves
- wax paper for testing wood filler base
- egg carton (or something similar for drying the wood filler)
- medium sand paper
- white acrylic paint
Note: When you click on certain links in this post, I may receive a commission for the purchase of products. As an Amazon Associate I earn from qualifying purchases.
Wood filler is a putty-like product available in tubes or tubs. Having worked with both, I like the small tub because it is easy to remove a glob for rocks and it isn't as wasteful as the larger tub which will eventually dry out if not used. It is important you use the paintable version. (If you want to experiment first, go ahead and get the tube which will be cheaper.)
Be sure to protect your work surface with newspaper. I also use wax paper to minimize the wood filler sticking to the newspaper. This is a messy project. Disposable gloves are very useful when working with wood filler.
Step 1
Choose a stone you'd like to stand upright and look at it from all angles to see if there is a semi-flat area you can mold wood filler onto so it will form a flat base.
You can add just a bit of wood filler or pile it on - whichever achieves the most stable base for the rock.
Alternatively, if you have a rounded stone, choose which side you'd like to use for a stable base.
Step 2
Wearing disposable gloves, start applying wood filler to the bottom of your stone, smoothing with your finger as you go.
You want to build up the bottom and smooth the edges so they blend nicely into the stone. (Slightly wetting your finger helps the final smoothing and blending process.)
To test the stone's ability to stand upright, I sit it on wax paper for just a second. Because the stone is heavier than the wet wood filler, if left standing too long the wood filler loses its shape and starts spreading.
Step 3
Place the stone(s) with the wet, wood filler base upside down in an egg carton or something similar so the shape is retained while drying. It will take 2-8 hours for the wood filler to dry.
Step 4
Once the wood filler has dried, use medium sandpaper to lightly sand where the wood filler meets the stone to get as smooth a surface as possible. The goal is for the wood filler to be a part of the stone. Now is the time to also sand off any wood filler accidentally applied to other areas of the stone.
Step 5
Apply white or other acrylic paint color of your choosing to the stones to cover the wood filler and prepare the surface for painting. Note how some of my stones are smoother than others where the wood filler has been applied.
Tips
- A Popsicle stick works well for spreading the wood filler onto the rock.
- So upright rocks are available when I need them, I like to add a wood filler base to many stones at one time rather than one here and there.
- You can use wood filler to repair chipped or dented stones
- If you plan to paint a bird on your
upright stone, create a nest with the wood filler (since you're adding
it anyway) and use a sharp tool to etch the twigs, leaves, etc.
- If you want the rock to stand without using wood filler, grind the base just a little with an electrical grinder. (Thanks Suzi Chua for these last three tips.)
* * *
I painted these nativity scene figures using stones which were stabilized on the bottom with wood filler.