
YOU can paint a pretty basket of pansies similar to this with the guidance of Ernestina Gallina's free tutorial.
This is my interpretation of Ernestina's tutorial and the steps are explained below.

Step 1: Choose your rock.
A good shape for this project is round or oval. The rock I chose is oval and measures 3 inches x 5 inches.
Step 2: Paint the lower half of the rock with dark brown.
I chose a hue called "burnt umber" for the lower half of my stone. (I used both crafter's acrylic and acrylic paint for this project.)
Step 3: Paint evenly-spaced horizontal strips in a lighter brown.
I used a hue called "burnt sienna." Tip: Before I painted the strips, I sketched them with a white pencil so I'd have guidelines to follow.

Step 4: Paint evenly-spaced vertical strips in the light brown hue.
After sketching the vertical lines with my white pencil, I used the same "burnt sienna" hue to paint evenly-spaced, vertical strips. Tip: My vertical strips should have been painted closer together.
Step 5: Highlight A
I suggest you study Ernestina's tutorial before starting this step because it's a little tricky. I used a "terra cotta" hue and carefully placed alternating swatches of this color where my horizontal and vertical lines met. Tip: I practiced on paper before attempting to paint my rock.
Step 6: Highlight B
I used a "yellow ochre" hue and highlighted the horizontal and vertical terra cotta portions painted in Step 5.
Step 7: Highlight C
I mixed the yellow ochre hue with a little white acrylic paint and highlighted once again, trying to achieve an interlaced basket effect.
Step 8: Sketch the pansies.
I used my white pencil to sketch pansies on the upper portion of my rock. I placed them at different angles, made them different sizes, and placed some overlapping the basket.
Step 9: Paint pansy petals with white base coat.
When I base coated the pansies with white acrylic paint, I left the edges unpainted to set off the petals.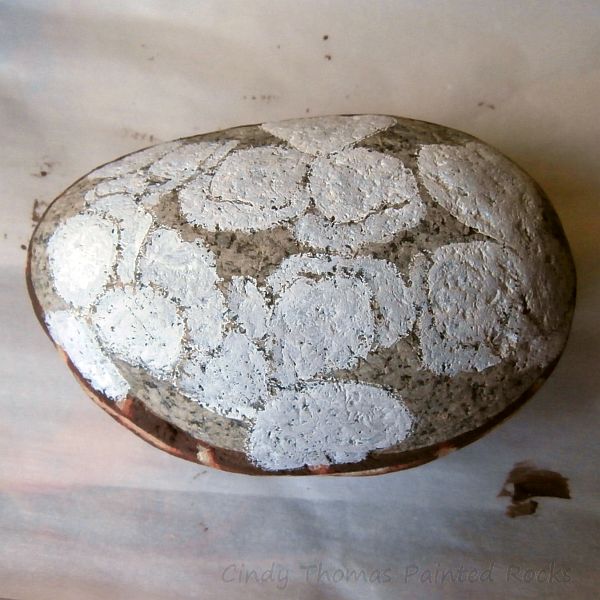
Step 10: Paint the empty space.
I first used a "leaf green" hue to paint my empty space but had to go back and repaint it later with "hunter green" which was a darker shade. Tip: Use a dark green hue for this step.
Step 11: Paint the flowers.
Instead of painting the pansies yellow as Ernestina explained in her tutorial, I referred to a photo with a different color combo. In general, pansies are painted lighter at the edges and darker in the center. Tip: I suggest you study Ernestina's tutorial to help you understand how to properly shade the pansy petals.


Step 12: Paint the leaves.
I used a "leaf green" hue to paint the leaves and mixed a little white with the green to outline and add veins to each leaf. (Note: I chose to omit the basket's handle on my basket of pansies.)

Step 13: Seal the stone with your preferred clear coat protection.
To seal my pansies in a basket painted rock, I brushed on a coat of Mod Podge, followed by a coat of Americana DuraClear Satin Varnish.

Helpful Links
© Cindy Thomas Painted Rocks
Thank you, Robert.
ReplyDeleteThank you ... really appreciated
ReplyDeleteYou're so very welcome.
DeleteSo lovely! Love your blog.
ReplyDeleteI came across it last night. I was reading about your recommendations on sealers and saw that you recommend using modge lodge and an Americana Dura Clear for outside rocks.
I used an acrylic spray on mine and some of the paint came off :( so I would like to try your method!
I was wondering if that's still your recommendation as that post I read was back from 2015 I believe.
Is Americana Dura Clear varnish still the one you like to use.
Also do you still think the regular modge podge is the way to go? (I saw that there's an outdoor kind, but it didn't have great reviews). Thanks!!!!
Thank you for the compliments.
DeleteYes, I still use Mod Podge and Americana DuraClear, however, the majority of my rocks remain indoors.
FYI: I use Mod Podge as a first coat to lessen the chance of smearing paint and/or markers when the subsequent sealer is applied. I prefer brush-on sealers instead of sprays.
I have used the Mod Podge/Duraclear on some outdoor stones. The best paint to use for an outdoor stone is Patio Paint or Yard & Garden which have a built-in sealer. I also apply several coats of the Americana Dura-Clear on top of the Mod Podge if the stone will be outdoors. Note that no sealed stone will withstand harsh weather. Some of my rocks have been OK (those in the shade) and others the paint has faded. You have to occasionally re-apply sealer on some outdoor stones.
You could try experimenting with Thompson's WaterSeal which is meant for concrete. (I, personally, have not used Thompson's.)
I'm sorry I could not be of more help to you. Experimentation has been how I've discovered what works best for my painted rocks.
Lovely!
ReplyDeleteThank you very much, Mary.
DeleteSorry I don't know if my other comment went through but I had a question. I came across your blog last night and was reading about how to seal rocks for outside use. I sprayed mine was an acrylic spray and it wasn't strong enough. :(
ReplyDeleteI would like to try out your method as you sound so knowledgeable!!
I read that you recommend modge podge and Americana dura Clear varnish on top of it. Is that still your best choice? The blog post I read was from a few years ago.
Also I saw that modge podge comes in "outside" type but it didn't have stellar reviews so wanted to confirm which type to use.
Thanks!
I moderate the comments before they're published, Mary, which is why you didn't see your question right away.
DeleteI have used the Outdoor Mod Podge and it didn't seem to be much different than the regular. I would not purchase it again.
Most of my stones remain indoors. The Mod Podge/DuraClear combination will protect the stones outdoors for some period of time but NOT permanently. Outdoor conditions vary and can be harsh so it's imperative to check on outdoor stones and re-apply paint and sealer from time to time.
You might ask a home improvement store what they recommend since they'll be knowledgeable of outdoor weather-protection products (e.g., Thompson's WaterSeal).
Are you going to make any more rocks? I love looking at them you are certainly talented.
ReplyDeleteYes, Cindy, I will be painting more rocks. Thank you so much for the compliment.
DeleteThanks so much for sharing this awesome info! I am looking forward to see more postsby you! Acrylic Painting
ReplyDelete