Plaid (the manufacturer) describes the paint as:
- Semi-gloss
- Highly pigmented
- High-performance
- Durable
- Fade-resistant
- Ideal for indoor and outdoor DIY craft projects
- Works on decorative glass, wood, paper mache, terra cotta, concrete, and plastic
The hues I purchased were: Plaster (off white), Agave (blue), Rhubarb (coral), and Ink (black). (I was tempted to purchase more because all the colors were so pretty.)

For my test, I applied the plaster (off white) to one side of my stone as a base coat. I then painted small squares using the other 3 colors on both sides of the stone.

- The coverage was good on both sides of the stone (although it took 2 applications of paint)
- The paints had an ammonia odor which I did not like
- The size of the bottle's opening made it messy to pour onto a palette
- The paint is thick and would need to be thinned for detail painting
- This paint formula would have worked well for my bird bath project
Here are the Waverly Inspirations Super Premium Semi-Gloss Acrylic Paint hues, however, some shades may not be available at your local Walmart.
 |
| Waverly Inspirations Super Premium Semi-Gloss Acrylic Paint Hues |
Helpful Link: Waverly Inspirations Super Premium Semi-Gloss Acrylic Paints web page
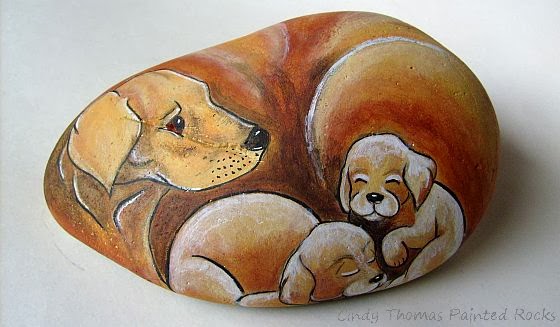
© Cindy Thomas Painted Rocks