Step 1: If you look closely, you can see how I drew a line around the bottom third of the stone and added a circle towards the middle right.
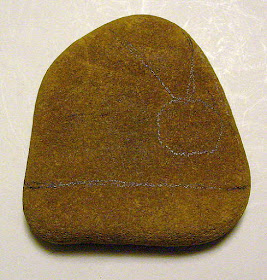 |
| Step 1 - Sketch simple hat design on stone |
Step 2: Next, I gave the stone a base coat in 2 different colors - yellow for the portions that will be painted red and a shade of blue for the sections that will be painted white. (To get the blue shade, I mixed medium blue with a touch of white and black acrylic paint).
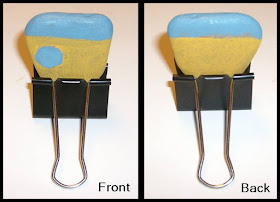 |
| Step 2 - Add base coat of blue and yellow acrylic paint |
 |
| A binder clip is a great tool for holding a thin stone while painting |
 |
| Step 3 - Apply red paint over yellow on both sides of stone |
Step 4: I added a dab of black paint to the red to get a maroon color and outlined the blue circle, added a couple of arcs from the circle to the top of the hat, and added a line between the blue and red along the bottom.
 |
| Step 4: Outline and define |
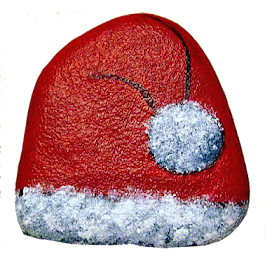
Step 5: I achieved the fleecy texture by using a stiff, flat brush and dabbed on white paint, allowing some of the blue base coat to show through.
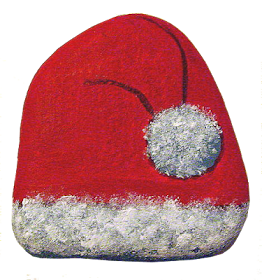 |
| Step 5: Dab on white paint for the fleece |
Idea 1: You can stop here or add finishing touches such as sealer and glitter.
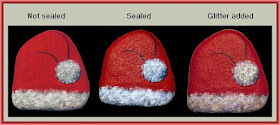 |
| Three Variations - unsealed - sealed - glittered |
Idea 2: Here's another idea for your painted stone: Add a ribbon or pipe cleaner and your painted Santa hat rock has now become a Christmas tree ornament.
 |
| Painted Rock Santa Hat Ornaments |
Idea 3: You can personalize the Santa hat by adding a name or slogan to the bottom, white portion.
Painted Santa hat rocks make cute DIY Christmas gifts that are easy enough for children to paint and fun for all ages to give and receive.
© Cindy Thomas Painted Rocks
No comments:
Post a Comment